Adding a New Experiment
There are two ways an experiment can be added to a subject in CNDA. Adding an experiment from within the subject or from the main CNDA menu.
Instructions
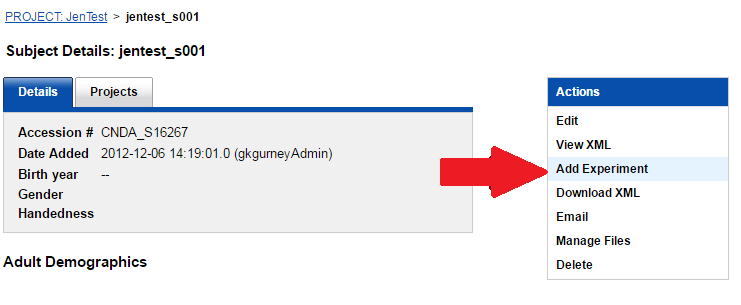
Adding an experiment from the subject details screen
- Click on the Add Experiment link listed in the Actions box to the right hand side of the subject details.
- A list of available types displays. Select the experiment type to be added. To narrow down the list, you can type all or part of the name in the Filter text box.
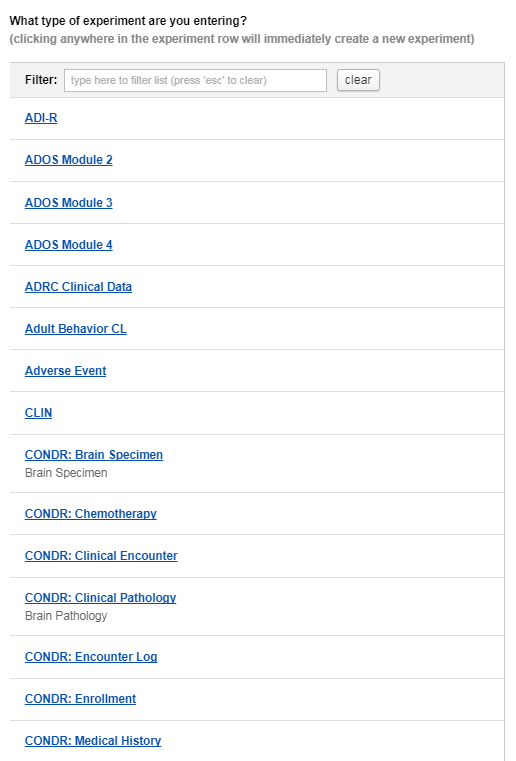
A full list of Non-Image experiments currently available to add to a CNDA project can be found here.
Enter the necessary data on the form that opens.
Click Submit to save the experiment when finished.
Adding an experiment from the main menu
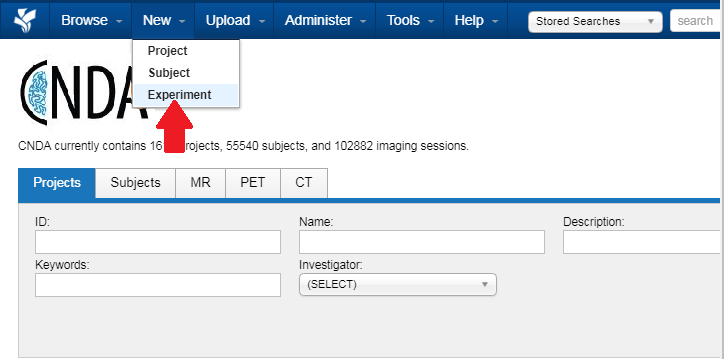
- Click on the New button on the main menu at the top of the CNDA home page and select Experiment.
- Select the Project the experiment is for.
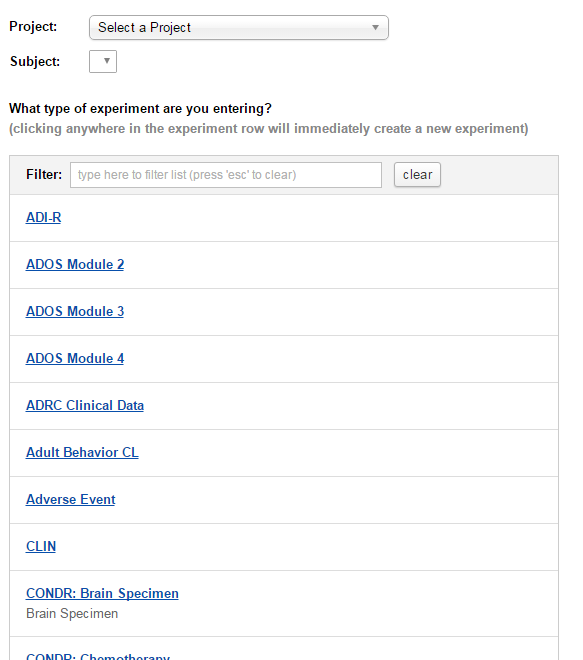
Select the Subject.
Select the experiment type. If the experiment to be entered is listed, click the appropriate name. You can also start typing in the name of the experiment in the Filter field for faster selection.

- A creation form will display.
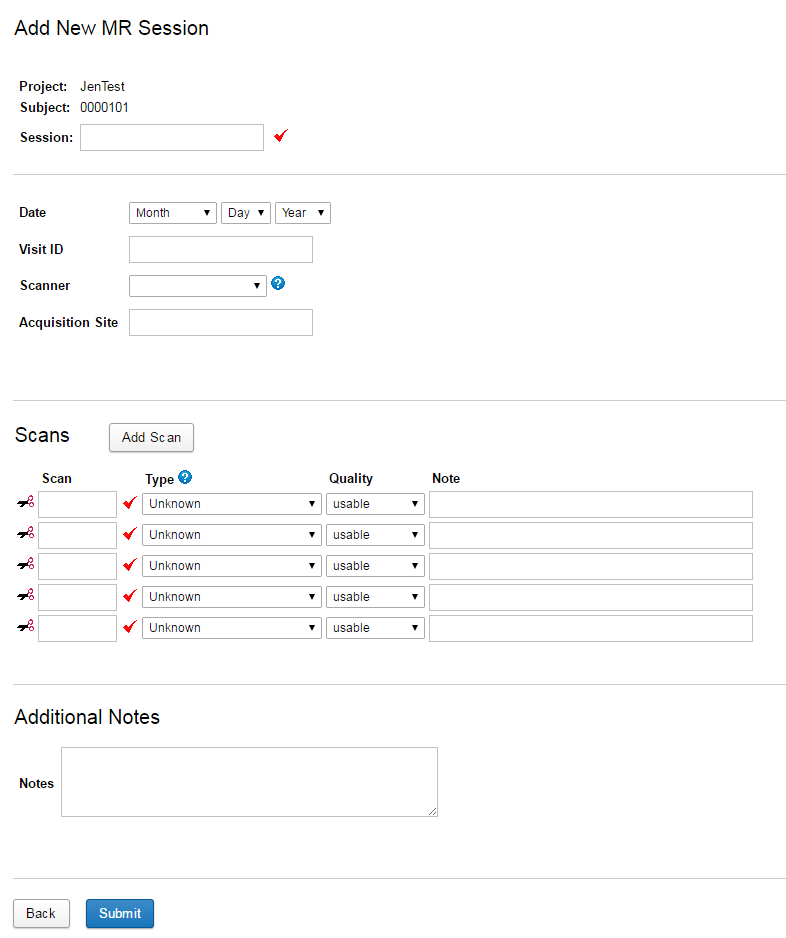
Enter a unique Session label.
Enter session data.
Click Submit when complete.
Examples
Adding an experiment from the subject details screen
Click on the Add Experiment link listed in the Actions box to the right hand side of the subject details.
Select the NIH Stroke Survey as the type of experiment to be added.
Fill in the form that will open.
Click Submit when complete.
Adding an experiment from the main menu
Click on the New button on the main menu at the top of the CNDA home page.
Select the Project the experiment is for.
Select the Subject.
Select Visit as the experiment type to be added.
Fill in the form that will open.
Click Submit when complete.